Over the past few months, I have hosted many online circle times. One thing they have had in common, is that many kids bring snacks! Why not ask all the kids to bring a snack and a teddy bear to have a virtual picnic? On social media and through email, the children were instructed on what to bring to circle time. The children were also told that the best way to take part in a Teddy Bear picnic is to come in disguise. The following pattern for bear ears was shared. Feel free to download the template to use with your children.
I began circle time with the Teddy Bear’s Picnic song. It has a catchy tune, but is a bit fast for the kids to sing-a-long with.
After the song, the children shared their bears with one another. Everyone got settled in to have their snack. While we ate, we watched a live stream of polar bears at the Ouwehand Park Zoo in Rhenen, Netherlands. There is a Momma and her two cubs!
I created a follow up activity for the children using science concepts. The children were presented an image of either a living bear or a teddy bear. They had to decide if the bear was living or non-living. We discussed how we could tell as a group. The activity was created on PowerPoint with the use of images from https://unsplash.com/. Unsplash offers freely usable images!
Our final activity for our Teddy Bear Picnic, was a favorite song. The children love to hear songs they are familiar with from school. Hap Palmer’s Teddy Bear Playtime is a frequently requested song. Everyone got moving with their teddy bear!
Patterning is a fundamental preschool activity. The creation of patterning is a fundamental lifelong math skill. Patterning falls under the category of Algebra. Children will be learning to understand patterns and relationships. The act of sorting and classifying is natural to the child brain. Lessons on patterning teach children how rules apply to sets. Patterning involves the following skills: making decisions, making judgements, understanding how new knowledge fits in with what is already known, and coping with things out of routine.
Summer has finally arrived in Michigan! A wonderful treat many children know about it ice cream. I created activities to introduce patterning to children using ice cream. Prior to our virtual circle time on https://zoom.us/, I asked the children to create a pattern with ice cream.
Image shared through email and on social media
I included a PDF file for the children to use if they needed additional inspiration to create a pattern. I simply used PowerPoint and inserted triangles and circles to create the ice cream shape. I then used the print to PDF feature to save the file.
The image shared with families to use at home
I began circle time with the book Splat the Cat I Scream for Ice Cream. Amazon offers this story for free on KindleUnlimited.
I then introduced the patterning activity. The children each shared their personal patterns and shared what colors they chose. Next, we played a patterning game. Children were presented with incomplete patterns and asked what should be next. I created the activity on PowerPoint with the same template I sent to the families. Instead of the circles being white, they were various colors.
PowerPoint slide
Under the white circles are circles filled with red and blue. After creating the circles, choose the animation tab. Use an EXIT animation on the white circles that is triggered when clicked on. This will allow you to reveal the color underneath after the children guess what comes next.
PowerPoint presentation used during activity
We finished the circle time with Greg and Steve’s Freeze song. This song tied right in with the ice cream theme! I hope you have as much fun with this activity as we did during our virtual circle time!
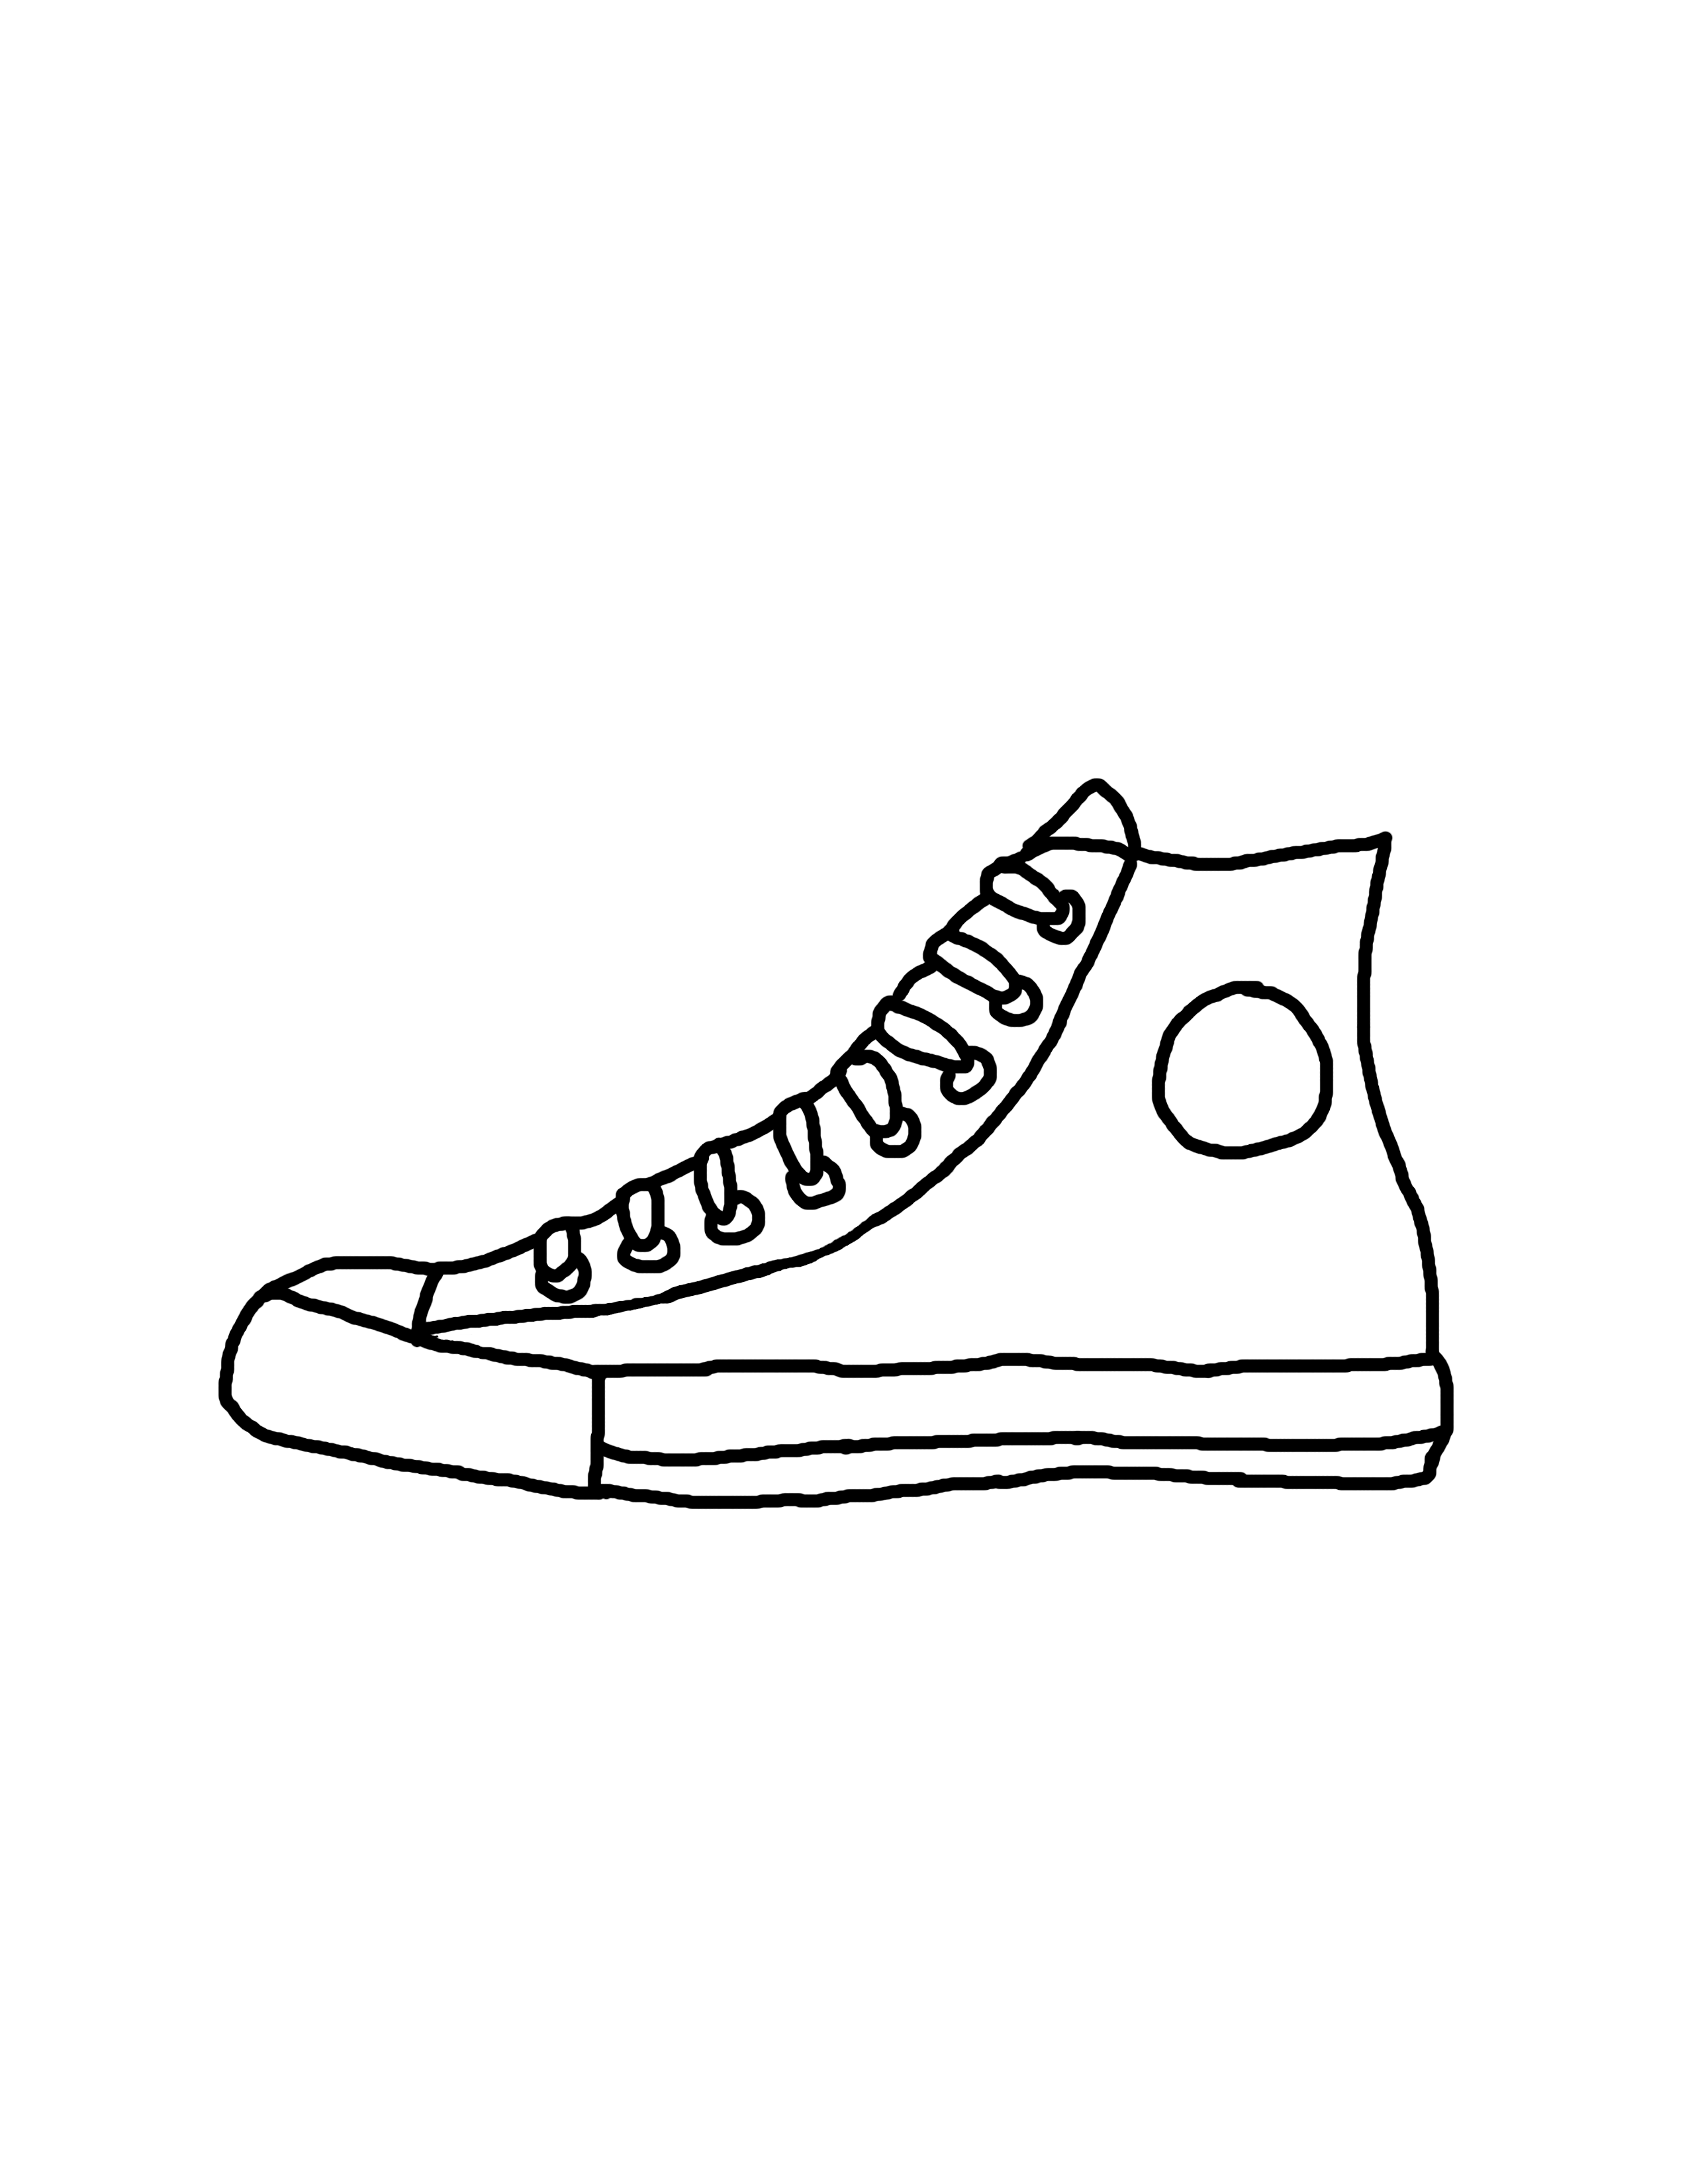
Pete the Cat button graphing was such a success,I decided to stick Pete for our next activity. “I Love My White Shoes” offers an opportunity to play with color! Prior to our circle time, the children were asked to color a shoe of any color.
Image shared on Facebook and through email
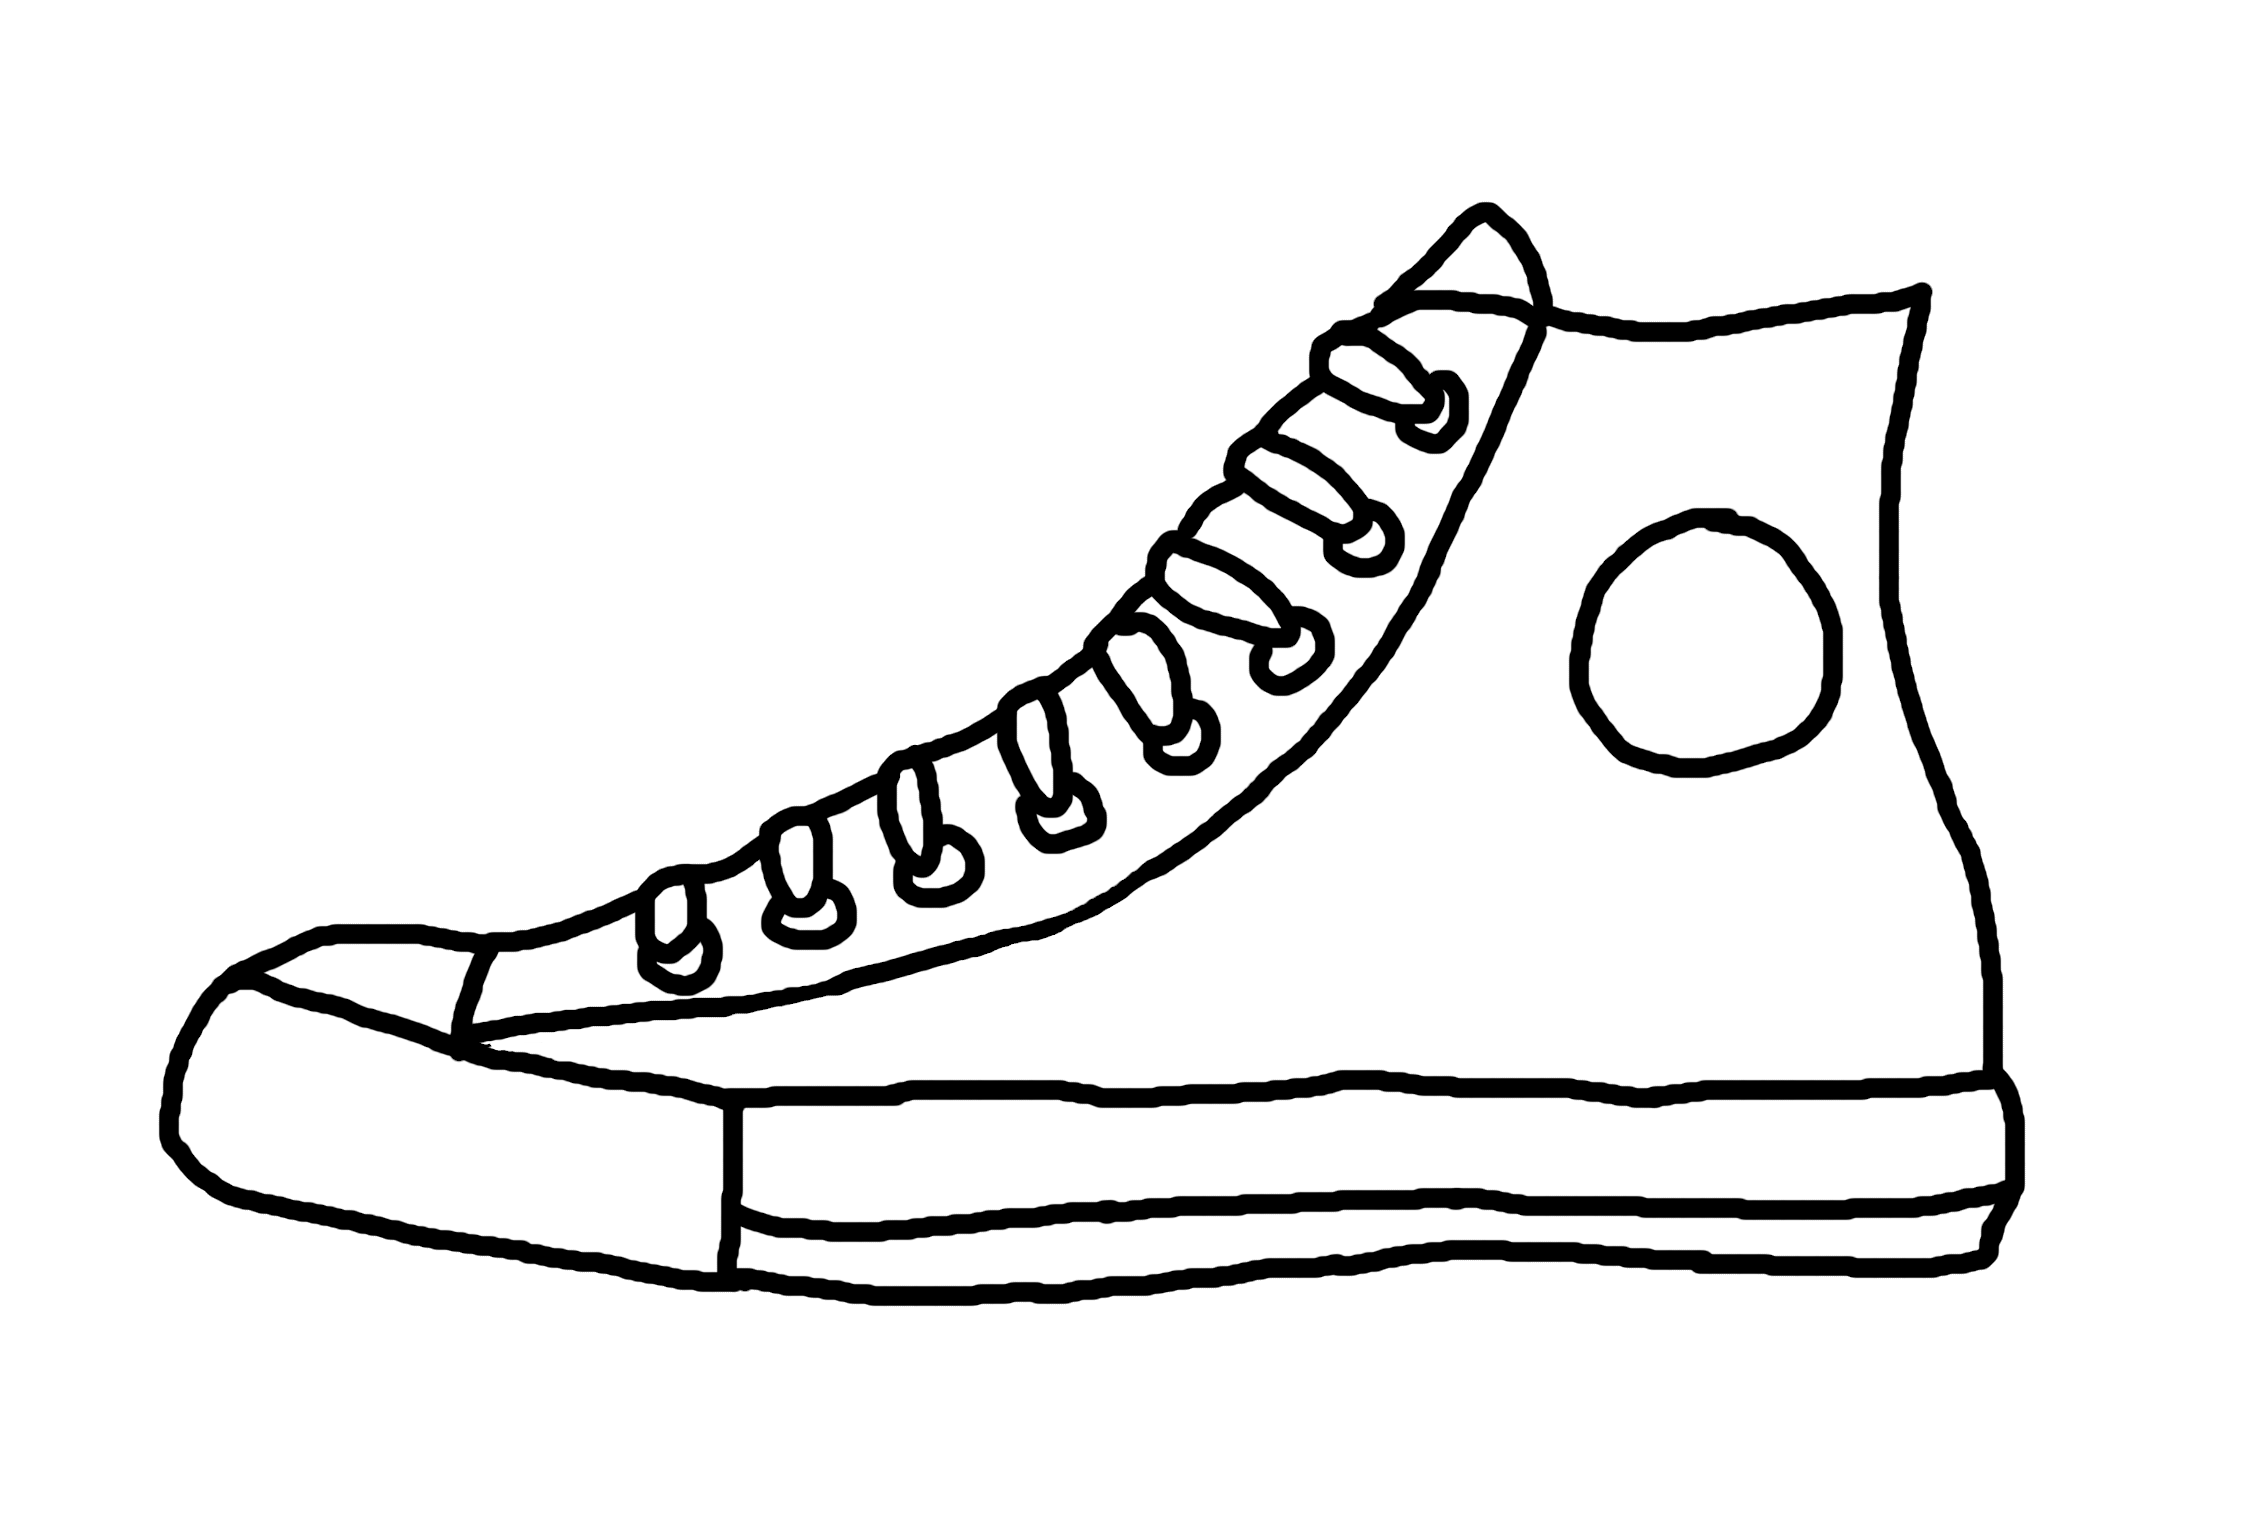
I provided a printable version for the children, but also stressed the idea to be creative. The download below is the white shoe the children were provided. Feel free to use it for this activity with your children!
We gathered on Zoom and began with the video of “I Love My White Shoes.”
The children are all excited as they sing along with Pete the Cat! The rhythm is familiar to the and easy to learn quickly. Once the video ends, the children share their shoes they created. We talked about the various colors the children used.
Next, I played an active video to get the kids moving. I chose Hap Palmer’s song “Colors.” During this song, children are asked to stand up if they are wearing a certain color. I instructed the children to use the color of their shoes as to when to stand up. If a child had a color that was not included in the song, they were look at their clothes and stand up if they were wearing the color. This song is an older song, but it is a great way to be active during a circle time! The following link will provide you the song, “Colors.”
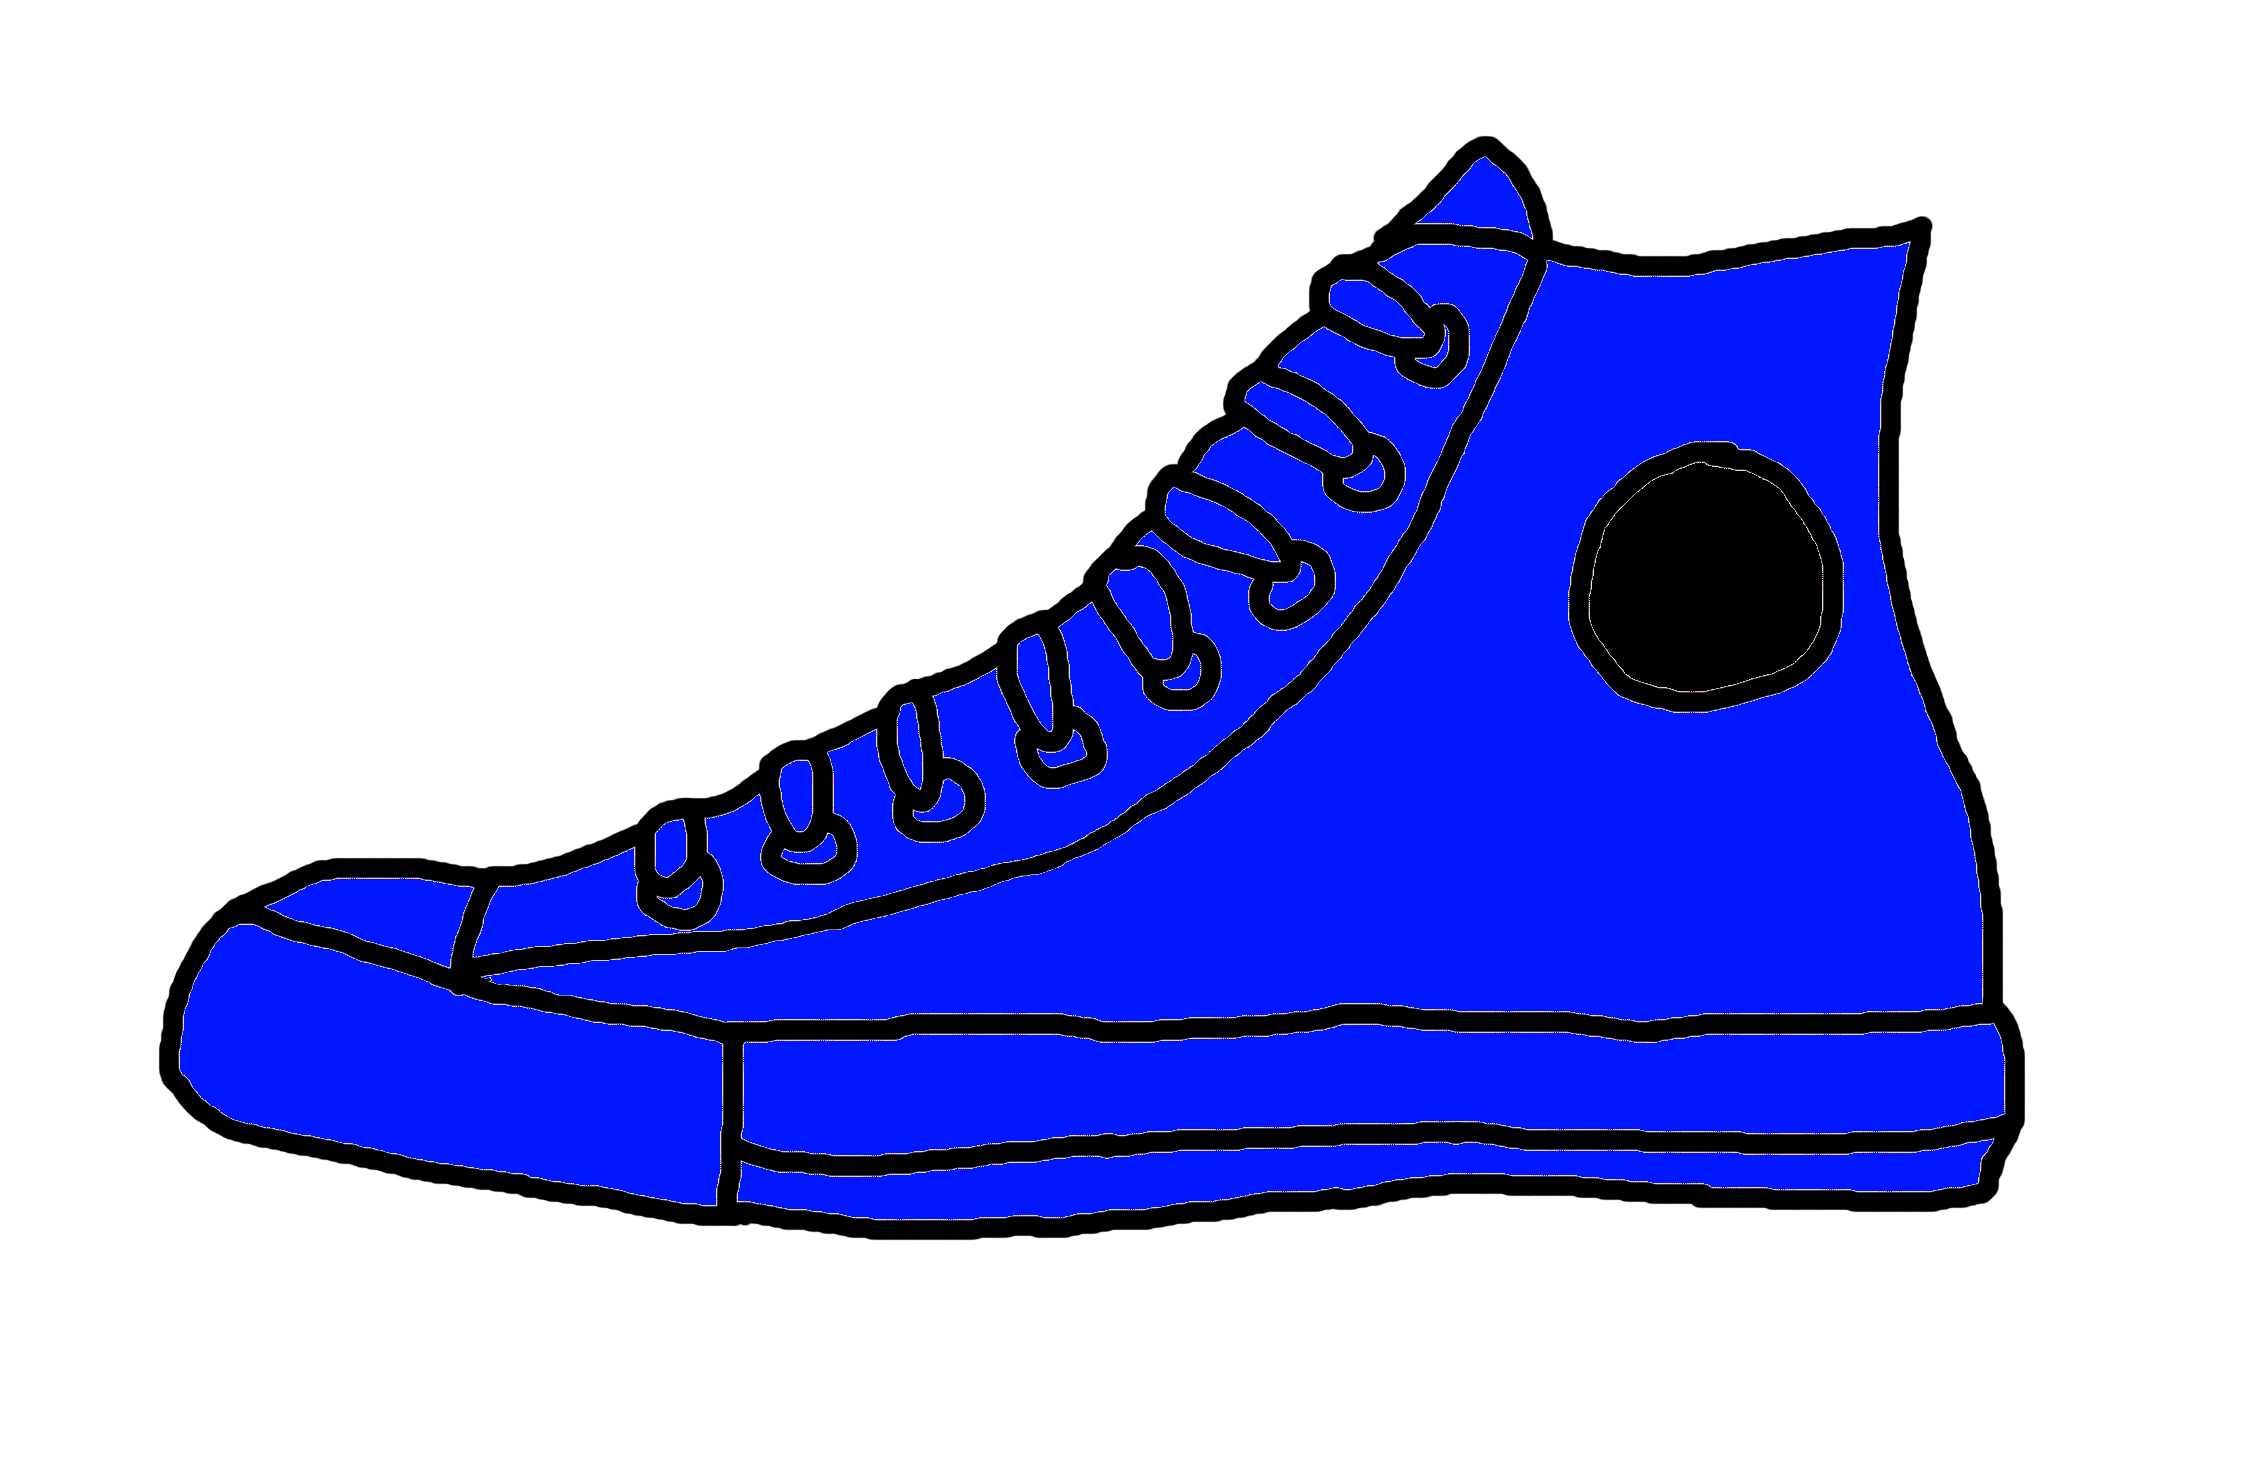
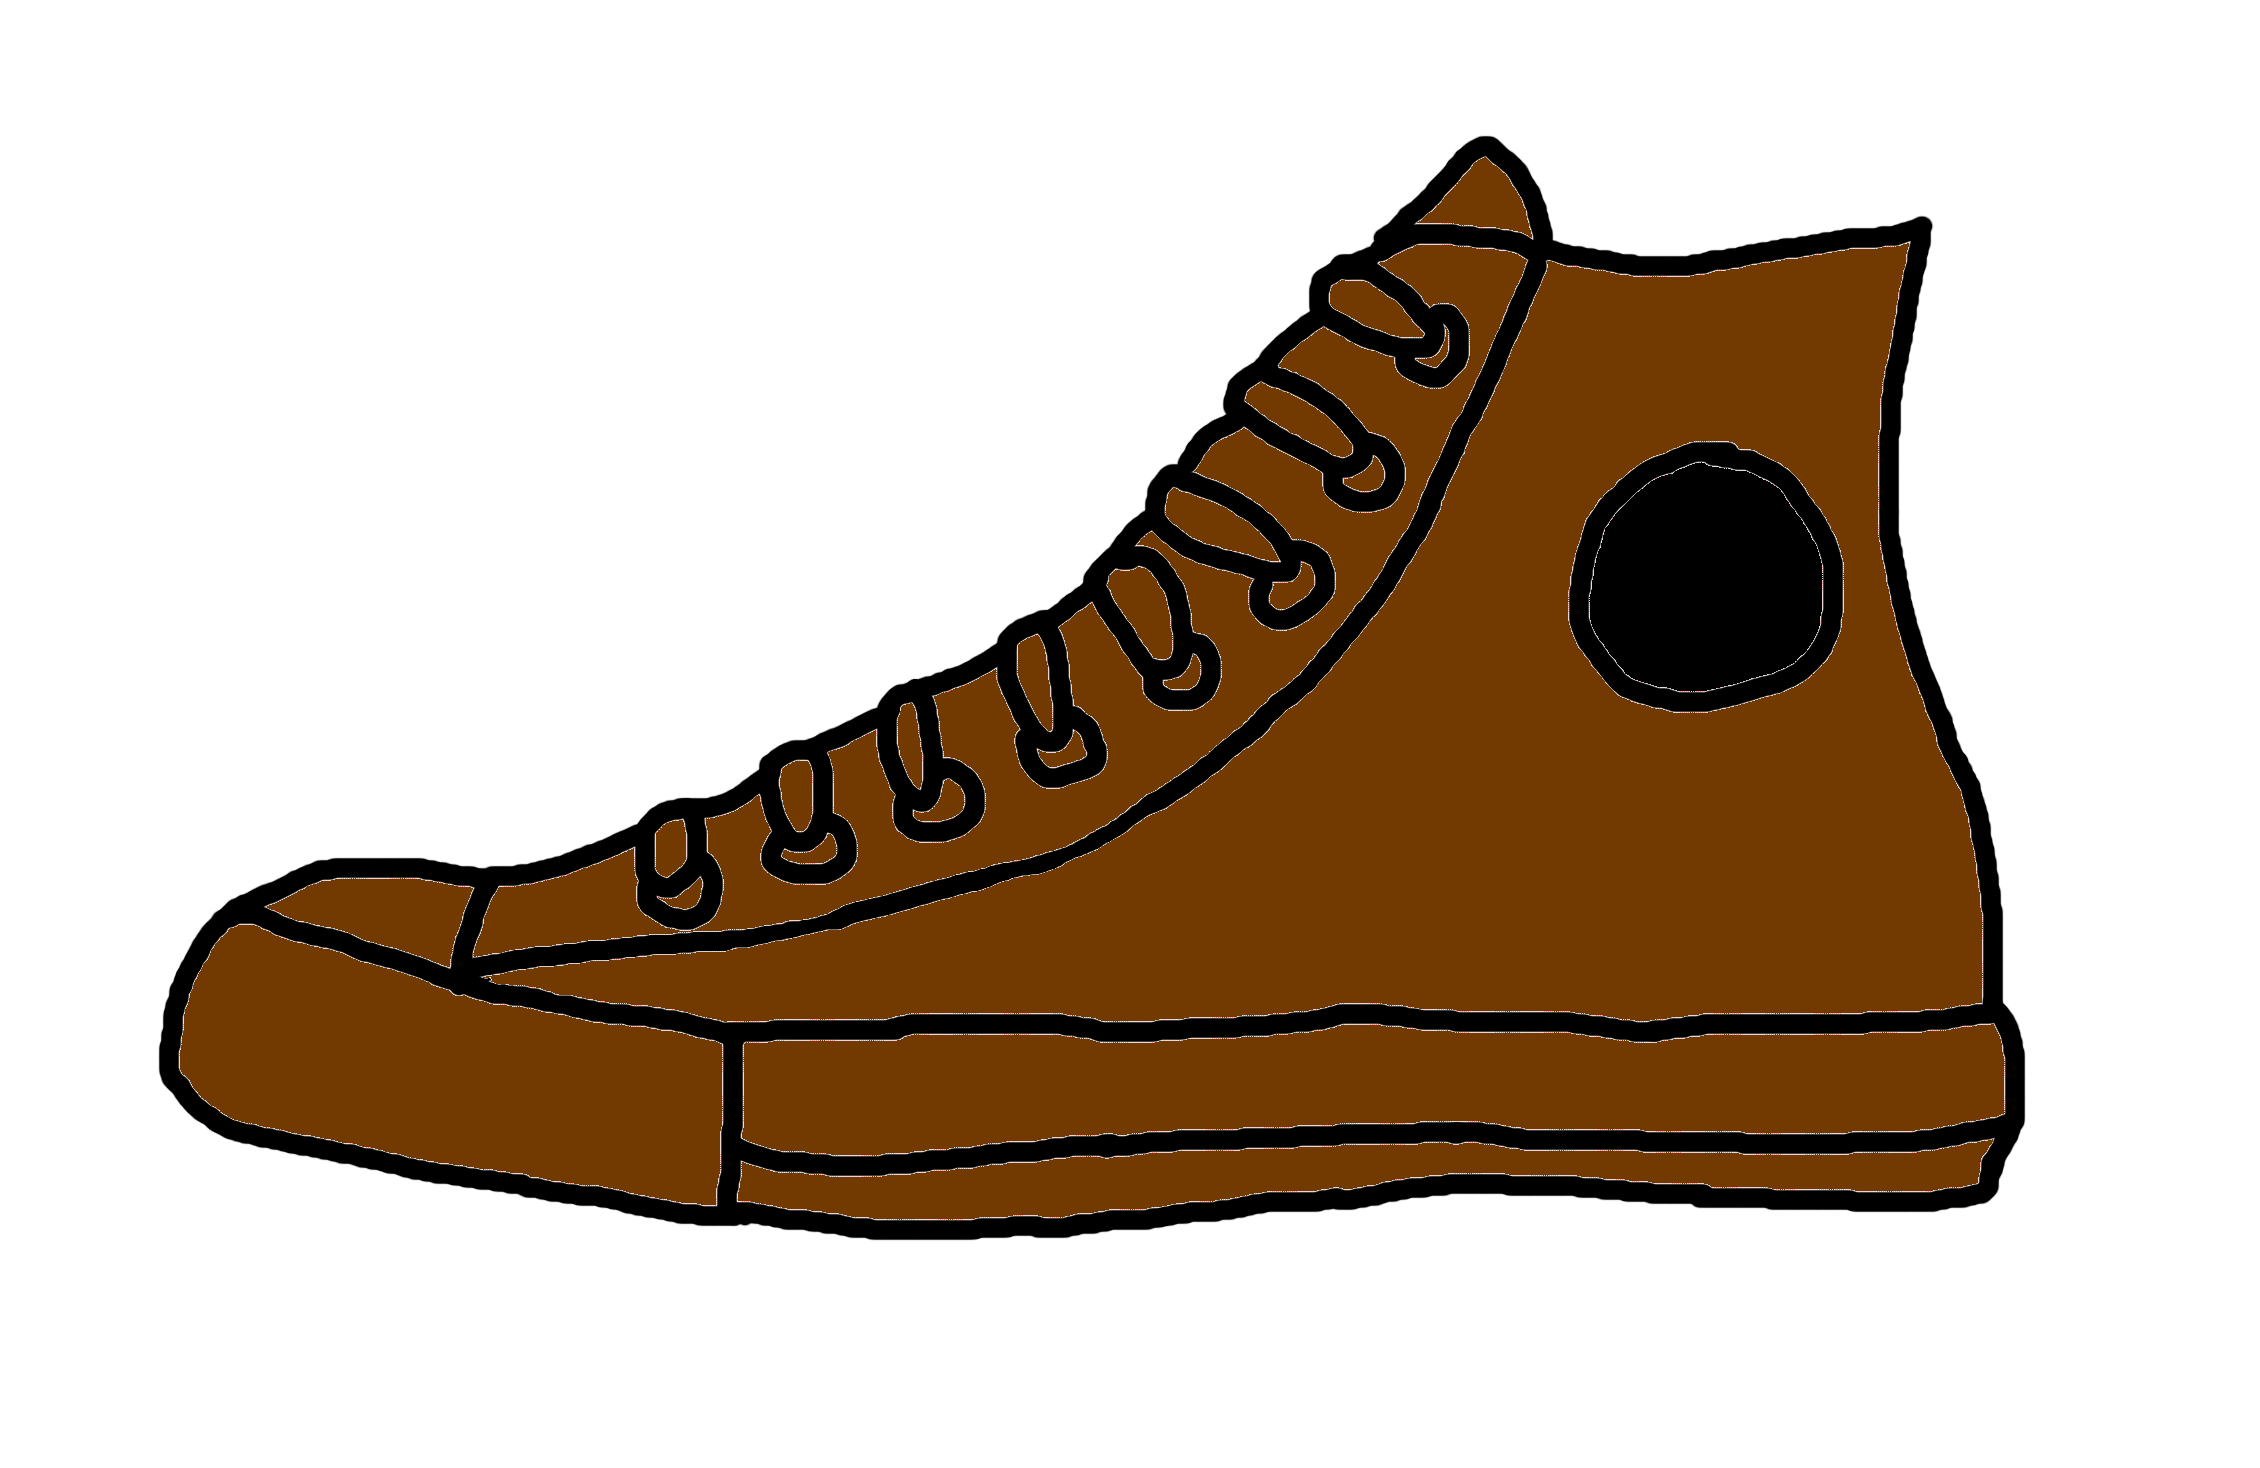
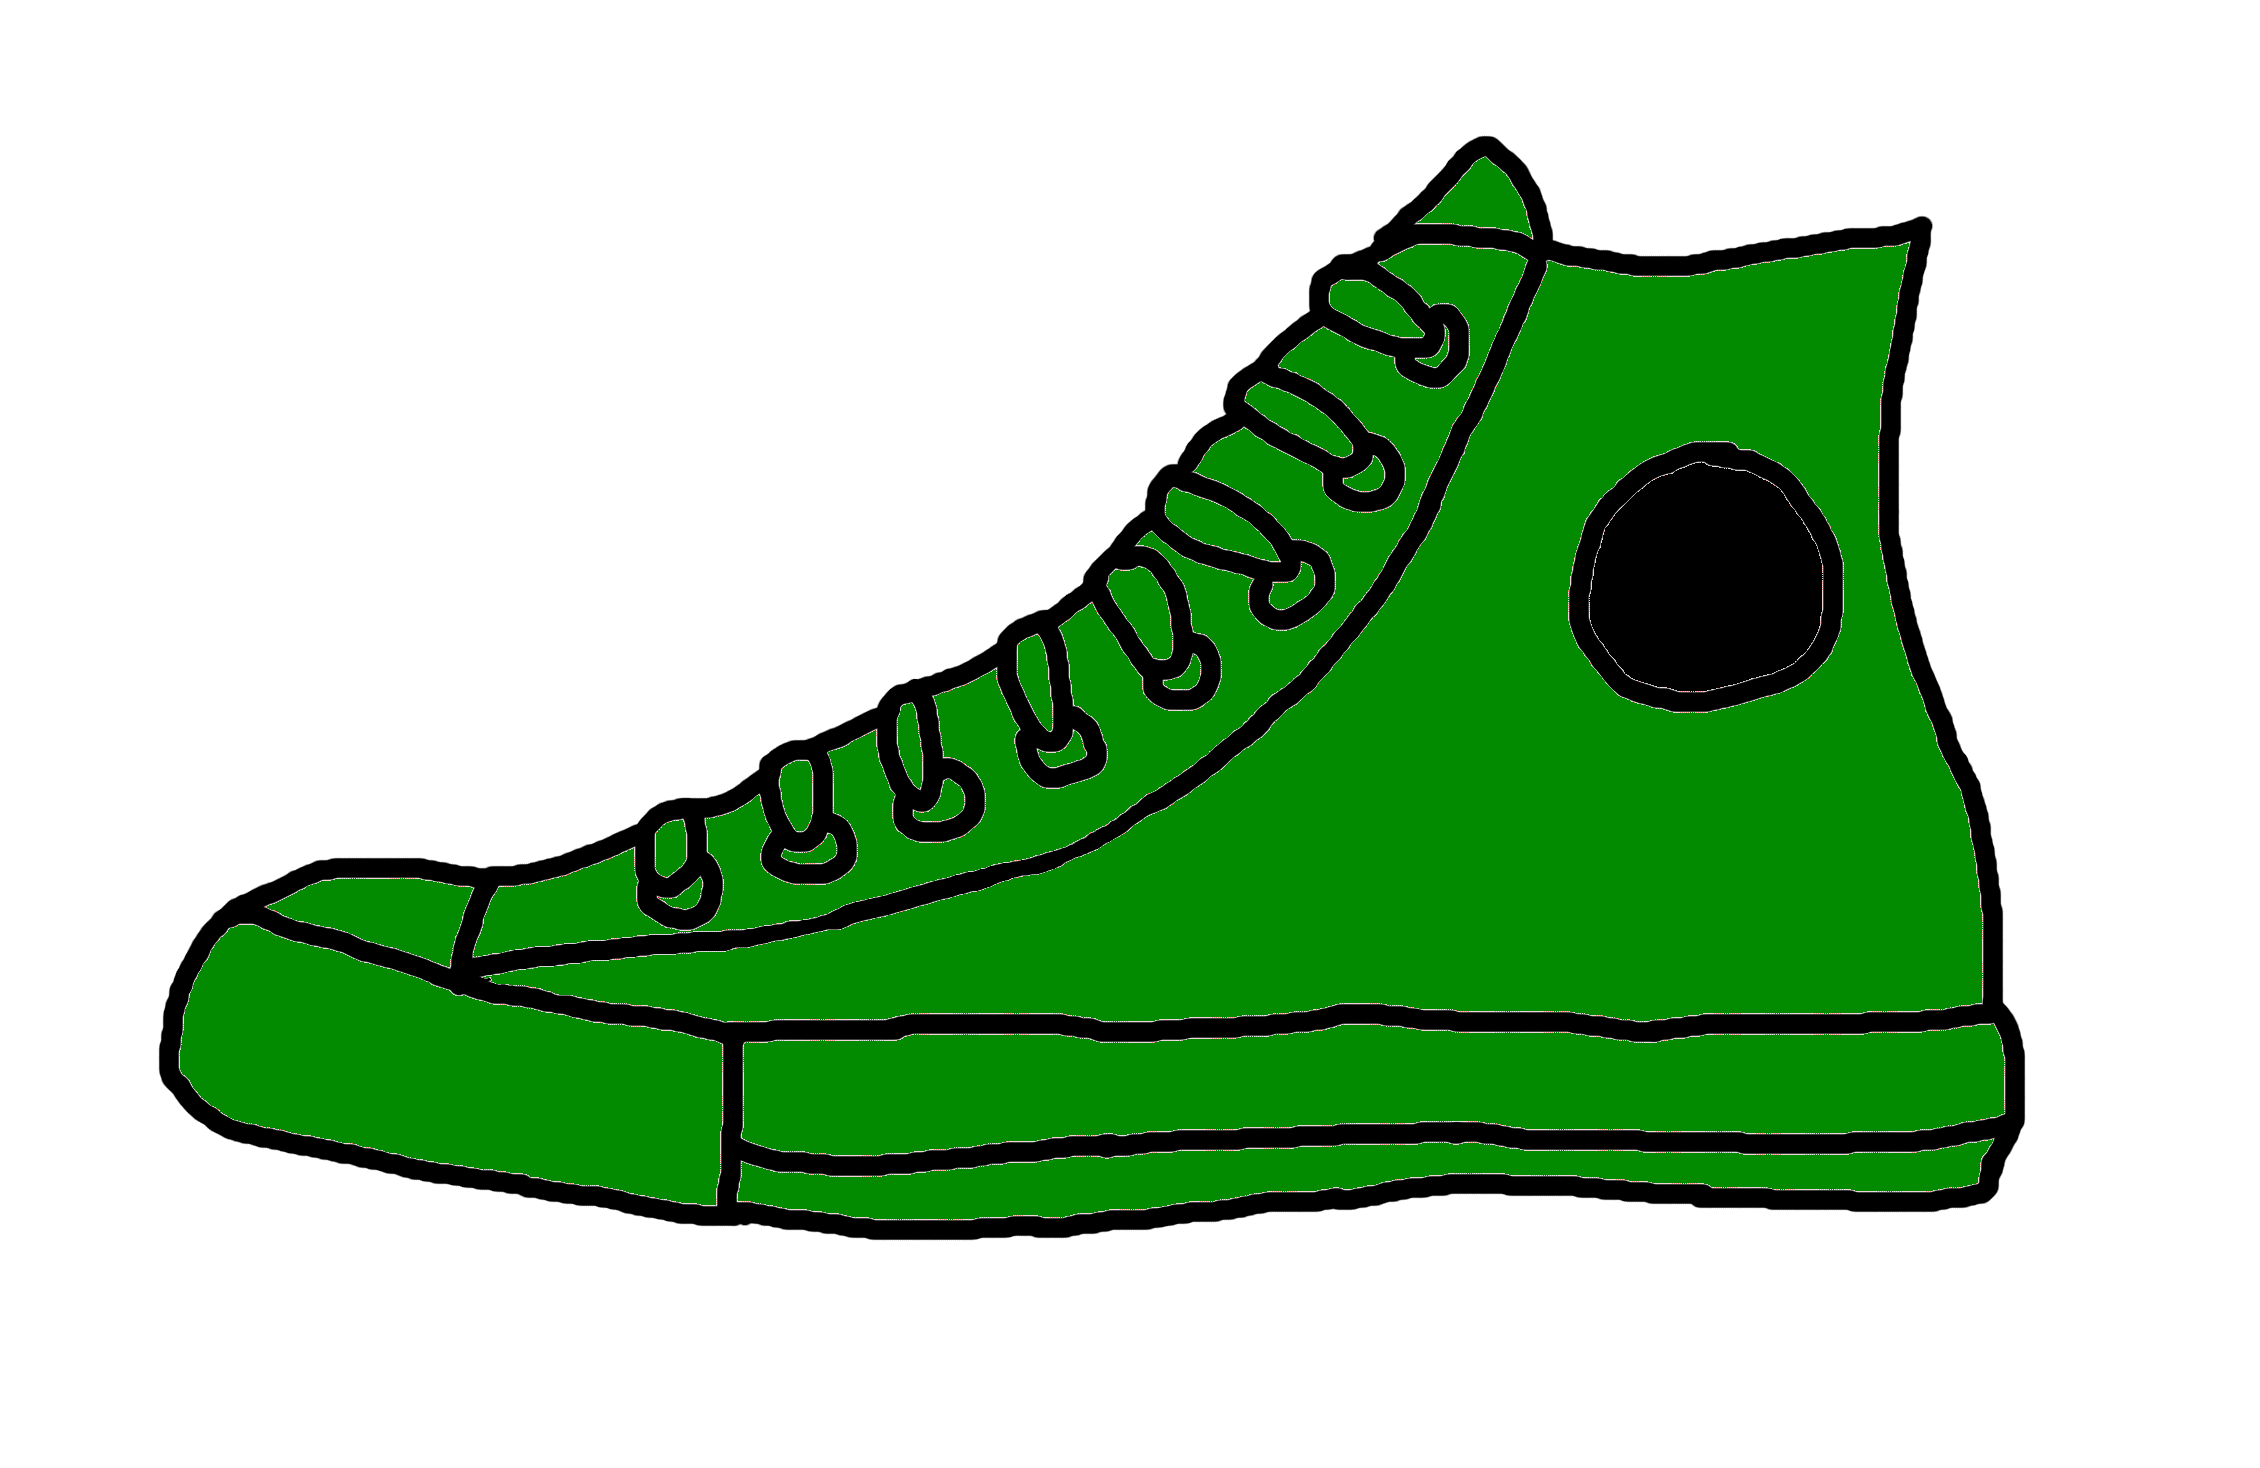
After all the wiggles are out, we settled in with our activity. I used PowerPoint to create a color mixing activity. On a blank page, I inserted a yellow paint blob. Next, I inserted a red shoe. I used the bounce animation to make the shoe walk onto the page. The next slide is a large orange shoe. When we did the activity, the children named the colors and then guessed what happened when the red shoe walked in the yellow paint. I made slides for a yellow shoe stepping in blue paint and also a red shoe stepping in blue paint. This activity pairs really well with the Pete the Cat book! The children made connections with the colors and were intrigued to see what color the shoe would become.
Have fun with colors during this activity! I am provided the shoes to help you get started.
A popular book series in our classrooms is Pete the Cat. These books offer a jazzy rhythm, provide inspiring messages, and offer slip in cognitive skills for children. This week, we decided to bring Pete to our virtual circle time. We found a video of Pete the Cat and His Four Groovy Buttons online. The music and rhythm of the read-aloud simply cannot be replicated. I highly suggest introducing your children to the read-aloud version if you haven’t already! The website http://www.petethecatbooks.com/ provides the audio version which would be easy to use while interacting with a felt board story.
Prior to our meeting, the children were asked to create a button at home in one of the colors Pete loses. These include red, green, blue, and yellow. The children then brought their button to our circle time. After listening to the story, we shared our buttons. Some children colored a button, some cut their button, and others used paint. The buttons were all unique! As each child shared their button, we graphed which color they chose to bring. The graph was created using PowerPoint.
PowerPoint has many features that can be adapted to create activities for children. A background, shapes, and animation provides the basis for this graphing activity. The first step is to create a background. I used Gimp (https://www.gimp.org/downloads/) to create a jpeg image of buttons.
The following steps can be used to create the interactive graph:
Open a blank page on PowerPoint. Delete the text boxes so you have a clean slate. Choose Insert then select pictures to choose to insert an image from your file. Place one image of each color button across the bottom of the page.
Next, you will need to create the rows of rectangles above each button. Simply select insert shapes, then the rectangle to insert the shape.
Squares are drawn above each button
Copy and paste the squares until you reach the top of the page. The default for shapes is to create a blue shape. Leave the shape blue until the end of our process. It is easier to manipulate a colored shape. Once you have the columns created, you will begin the animation process.
Select a square, then choose Animations on the task bar. Highlight the EXIT animation options. Select the animation of your choice for this square.
Next click on the animation pane. This will turn on the column on the far right of the screen. This will display the numbers of each box you will be animating. Once you click the exit animation, look to the animation pane to see the rectangle number you are working on. This is important for the next step, adding the trigger. Click on the lightning bolt Trigger button. Select “on click of.” A menu will appear. Select the rectangle number that is visible on the animation pane. Once you have done these steps, a lightning bolt will appear next to the rectangle on your main slide. Repeat this process for each rectangle.
The final step is to insert the button image into the background. Select the Design tab. Then choose Format Background on the task bar. Choose “Picture or texture fill” to allow you to choose your jpeg image. Click on Insert and then choose the image you created in Gimp. This will place the jpeg behind the rectangles.
Now, go back and change each rectangle to white. It was helpful to leave a light gray outline on each rectangle. This makes it easier to click on the area necessary to reveal the button.
View your activity by choosing Slideshow and selecting Play from Start. Hover your arrow above the square you which to reveal and click your mouse. If you click on an area there is not a trigger zone, your presentation will end. It is important to watch where you are placing your mouse!


